Printable Guide
How to Print on Cardstock: Paper, Settings and Folds
Learn how to print on cardstock with a gsm and lb comparison, printer compatibility checks, tray settings, duplex tests and fixes for jams or smudges.
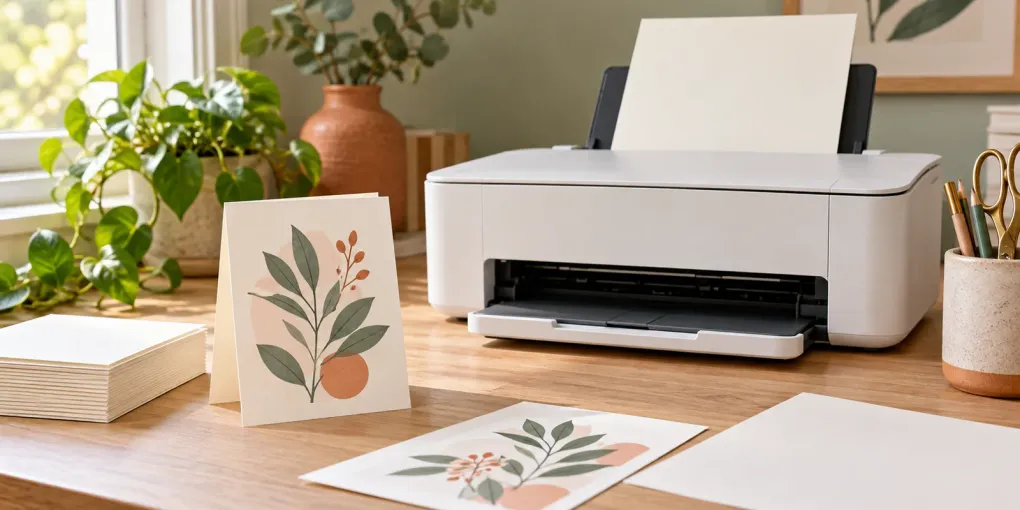
Here is how to print on cardstock at home: check that your exact printer supports the paper’s weight, thickness and coating, load it through the tray specified in the manual, and select the matching media setting. Print one plain-paper layout test, then one sheet of the final stock. There is no single cardstock weight that works in every home printer.
For a greeting card, choose the construction before buying paper. A single-fold card can use supported cardstock; a quarter-fold card is often easier with lighter paper because it has two folds and four layers. The PrintMigo card maker provides both layouts on Letter or A4, with editable cover and inside text, PDF downloads and a matching envelope template.
Updated 2026-11-01. Printer limits below are model-specific examples; craft paper suggestions are starting points, not compatibility guarantees.
How to print on cardstock your printer supports
Find the model number on the printer, then open its official manual. Search for supported media, paper weight, thick paper, manual feed and two-sided printing. Record these five items before ordering a pack:
| Check | What you need to confirm |
|---|---|
| Weight | The allowed range in g/m² for this media category |
| Thickness | Any separate maximum in millimeters, mils or points |
| Feed path | The approved tray or manual slot, plus loading capacity |
| Surface | Whether this coating is suitable for your inkjet or laser model |
| Second side | Whether automatic duplex or manual refeeding is permitted |
A photo-paper specification is not automatically permission to use unrelated cardstock of the same weight. Likewise, the scanner’s document feeder is not the printer’s cardstock feed slot.
For a concrete example, the Epson AcuLaser C900 manual lists thick paper at 91–163 g/m². Even a pack marked 65 lb cover, approximately 176 g/m², exceeds that stated range. Other models have different limits. A “Heavy” setting cannot make unsupported stock compatible.
If the manual gives no clear answer for your paper, ask the printer manufacturer with the full model number and stock specifications. You can also print a card front on supported paper and mount it onto a heavier blank after printing. Feed only the approved sheet, before adding glue or decorations.
How to print on cardstock: compare gsm and lb
Gsm means grams per square meter, also written g/m². It measures mass per area, not a sheet’s thickness. Two papers with the same gsm can differ in stiffness, coating and bulk.
US pound labels need a category: cover, text, bond or index. Their basis sheets have different sizes, so the numbers are not interchangeable. The distinction is explained by OKI’s paper-weight guide.
| Package label | Approximate metric weight | What to notice |
|---|---|---|
| 20 lb bond | 75 g/m² | Ordinary test-print paper |
| 80 lb text | 118 g/m² | Much lighter than 80 lb cover |
| 65 lb cover | 176 g/m² | A light-card option only within your model’s limits |
| 110 lb index | 199 g/m² | Not equivalent to 110 lb cover |
| 80 lb cover | 216 g/m² | Requires a compatible thick-media path |
| 100 lb cover | 270 g/m² | Check carefully before buying for home printing |
| 110 lb cover | 297 g/m² | Often better handled by a suitable print service |
These are rounded comparisons, not thickness conversions. The PaperSpecs conversion chart separates each paper category; Neenah’s Conservation specification also lists 110 lb cover at 297 gsm. Follow the actual gsm printed on your pack and your printer’s specifications if a conversion chart rounds differently.
For example, “supports 110 lb” and “110 lb cardstock” are insufficient information by themselves. One may refer to index while the other refers to cover. Comparing the metric figure prevents an expensive wrong purchase.
Choose matte, glossy or textured stock
For a card with a handwritten message, a smooth matte surface is a useful first sample. Try your pen on an offcut: some coated matte papers still resist particular inks. For photographs, choose a paper explicitly suitable for your printing technology and model.
| Finish | Useful for | Check on the first sample |
|---|---|---|
| Smooth matte or uncoated | Greetings, line art and handwriting | Small text, color coverage and pen drying |
| Coated glossy | Photo-focused cards | Printable side, coating compatibility and fingerprints |
| Textured or linen | Decorative stationery | Fine detail and whether ink or toner reaches the texture evenly |
| Colored or kraft | Dark text and simple designs | How the paper color changes pale artwork |
Glossy does not mean inkjet-compatible, and matte does not mean laser-compatible. Epson’s C900 guidance specifically excludes its inkjet media from that laser printer. Check the packet and manual together; never substitute an inkjet-only photo sheet in a laser machine because it looks similar.
A dark card also needs a suitable design. A white area in an ordinary home-printer file usually leaves the paper unprinted; it does not deposit white ink. Use a light insert or a specialist printing service if opaque white lettering is essential.
How to print on cardstock step by step
Keep one sheet beside the printer as a record of successful settings. Include the paper brand, gsm, tray, media selection, quality and orientation so the next batch is repeatable.
- Prepare the file. Proofread names, dates and messages. Export a PDF with the intended sheet size. US Letter is 8.5 × 11 inches; A4 is 210 × 297 mm. Match the actual pack in your tray.
- Test the layout on ordinary paper. Check that every panel appears and that the intended fold puts the cover on the outside. This catches layout errors before you spend the final stock.
- Select the approved media setting. Depending on the model, it may be Cardstock, Thick, Heavy or a named paper type. Use the documented choice for your stock; do not choose glossy photo merely to seek richer colors.
- Select the correct source. Use the manual, rear or main tray specified for that paper. Start with one sheet where single-sheet loading is supported. Position the guides against its edges without bowing it.
- Print one final-stock sample. Inspect text, solid areas, margins and feed marks. Let the sheet dry or cool according to the paper and printer instructions before rubbing, stacking or printing its reverse.
- Approve the finished object. Trim or fold the sample and try the envelope. Only then print the remaining quantity within the tray’s stated capacity.
Brother’s card-printing guide confirms the importance of the media setting, aligned loading and a single test page. Menu names vary between operating systems and drivers. If a phone’s print screen hides the necessary setting, use the manufacturer’s supported printing app or a computer with the appropriate driver.
Keep the intended size
For a size-dependent template, choose Actual size / 100% and one PDF page per sheet. Turn off extra multiple-pages-per-sheet or booklet options unless your file specifically needs them.
Adobe documents that Actual size leaves the PDF unscaled, while Fit changes its size to the printable area. Actual size can clip content beyond the printer’s margins. If that happens, check paper size and orientation, then revise the design’s margins or choose suitable printing equipment. Turning on Fit may avoid clipping but changes the finished dimensions.
How to print on cardstock for folded greeting cards
In the card maker, choose Classic, Confetti or Photo, then select your paper and fold. The preview represents the flat sheet, so some panels deliberately face different directions.
| Layout | Printing arrangement | Practical paper starting point |
|---|---|---|
| Half-fold | Outside and inside on opposite sides of one sheet; one fold | 160–220 g/m² only if the printer permits that stock and refeeding method |
| Quarter-fold | All panels on one printed side; two folds | 80–120 g/m² paper to reduce bulk |
For a half-fold, confirm that the heavier paper is supported for two-sided printing, not just one-sided feeding. If automatic duplex is unavailable for it, manual refeeding is an option only when the printer and paper instructions allow it. Use a marked plain-paper trial to establish which face prints and which edge enters first. Match the editor’s flip setting rather than assuming “long edge” works for every orientation.
The quarter-fold needs no second-side print. Its rotated upper panels become upright after folding. Do not rotate individual panels to make the flat preview look like an ordinary letter.
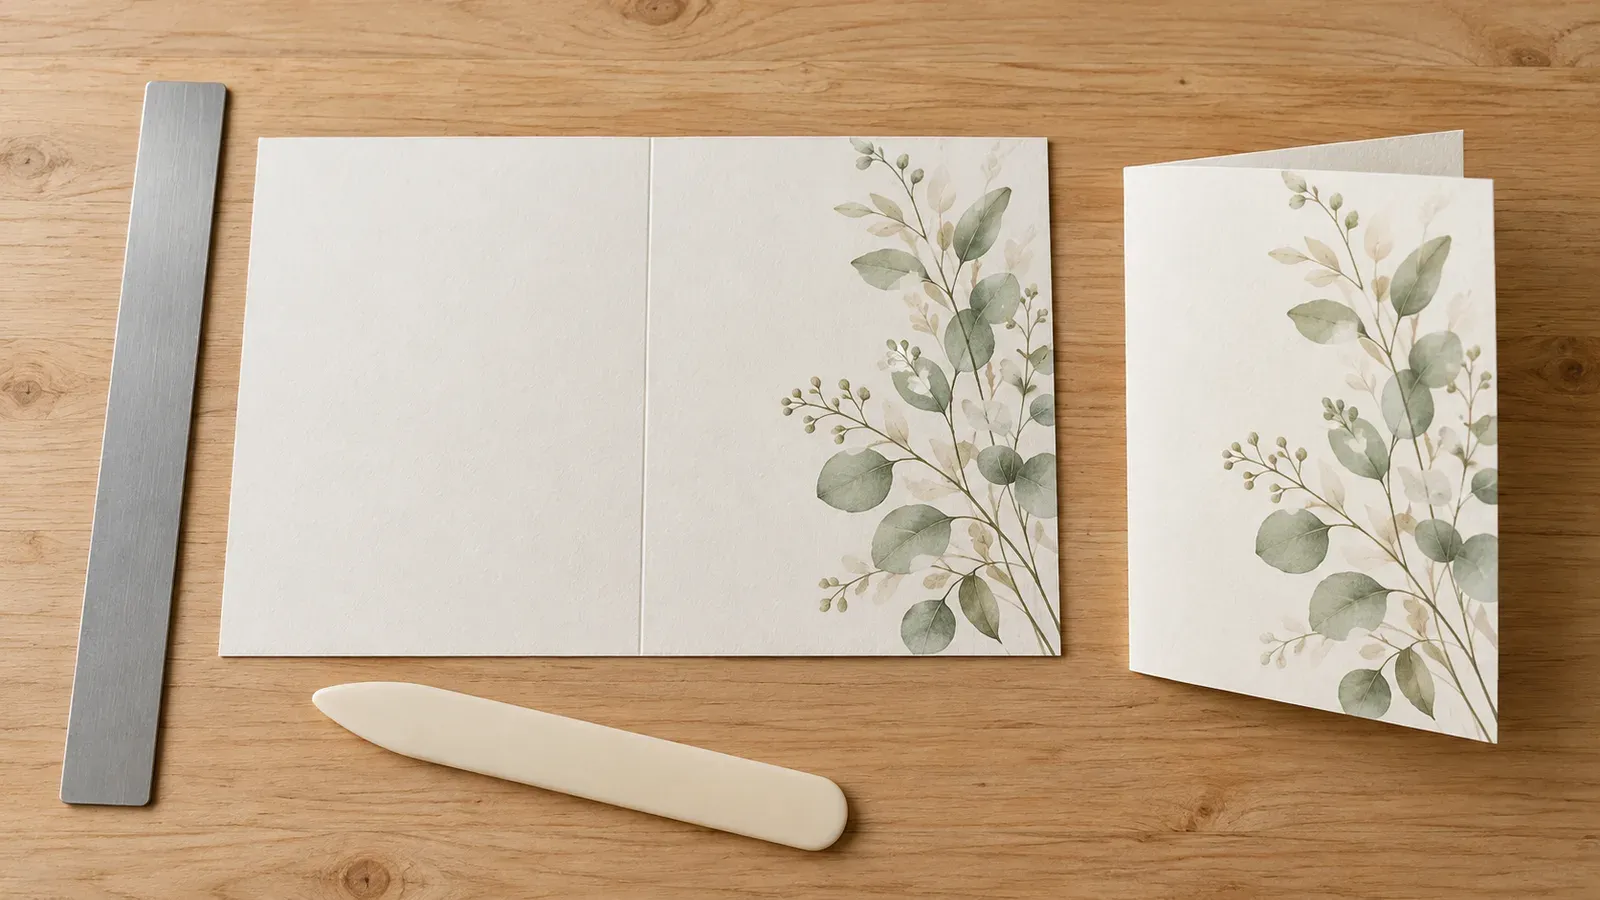
Illustration of scoring and folding; not a screenshot of the editor or a tested printer output.
After the print is ready to handle, use a ruler and a blunt scoring tool to prepare the fold. Press a crease rather than cutting through the paper. Cricut’s folding guidance explains why scoring and grain direction affect cracking. Practice on an offcut before the finished card, particularly with a dark printed area crossing the fold.
The matching PrintMigo envelope is a separate PDF. Its pocket adds 6 mm to each folded-card dimension, and larger templates span several sheets with 10 mm overlaps. Print its tiles at 100%, assemble them, then cut and fold. Test the card inside before gluing the last flap.
Fix jams, smudges and uneven printing
Change one variable at a time and keep the unsuccessful sample for comparison. Repeatedly forcing the same failing stock through the printer does not diagnose the cause.
| Symptom | First check | Next action |
|---|---|---|
| Sheet will not feed | Weight, thickness, approved tray and guide position | Cancel the job; use a supported lighter stock or the documented feed path |
| Several sheets feed together | Allowed stack size and sheet condition | Reload as instructed; use single-sheet feeding if supported |
| Ink smears | Printable side, coating and drying instructions | Test compatible paper with the correct media setting |
| Toner rubs off | Laser compatibility and media setting | Recheck the documented stock setting; stop the batch if adhesion remains poor |
| White stripe or missing detail | Whether plain-paper output has the same defect | Use the model’s maintenance instructions if it does |
| Cropped edges | Paper size, orientation, scale and printable margins | Fix the file or setup before trimming |
| Inside is upside down | Duplex flip and manual feed direction | Repeat a marked plain-paper orientation test |
| Fold cracks | Scoring, grain, coating and paper bulk | Test a gentler score or lighter compatible stock |
For an actual jam, cancel printing and follow the model’s removal instructions. Avoid pulling against the prescribed direction or reaching into a hot laser fuser. If you need thick wedding invitations or many identical cards and the stock is outside your printer’s range, ask a print shop for a proof on its supported stock.
Questions to settle before printing
Can a regular printer print on cardstock?
Some can, within model-specific restrictions. Confirm weight, thickness, surface, tray and duplex support. A printer that accepts one coated photo paper does not necessarily accept every card of equal gsm.
Is 300 gsm cardstock too thick?
It depends on the printer and the paper’s actual thickness. Do not infer support from a “Cardstock” menu option. If 300 g/m² is outside the documented range, choose a lighter sheet, mount a printed front afterward or use a compatible print service.
Should I select the highest quality setting?
Use the recommended setting for the selected paper, then judge a sample. Quality and media type serve different purposes. Increasing quality is not a cure for an incompatible coating, a feeding problem or incorrect scaling.
Can I print both sides of glossy cardstock?
Only if both sides are printable and the printer supports the required method. A sheet coated on one side may produce a different result on the back. Make a two-sided sample before planning a whole batch.
What should I tell a print shop?
Give it the PDF, finished quantity, sheet size, intended folds and whether both sides print. Ask for compatible stock, actual-size output, any trimming or scoring, and one proof before the full run. Confirm whether the service needs different margins or bleed; a home-print PDF is not automatically a press-ready file.
Ready to put how to print on cardstock into practice? Create a greeting card, save its PDF and check one complete sample with your approved paper and settings before printing the batch.
For coordinated wedding stationery, make a wedding invitation and matching RSVP, details and thank-you cards. Export the PDF with optional 3 mm bleed and cut marks, then ask your printer or print shop to approve one sample before the full run.