Printable Guide
How to Print Double Sided Without Upside-Down Backs
Learn how to print double sided on Windows or Mac, choose the right flip edge, reload paper by hand, and line up flashcards with a two-sheet test.
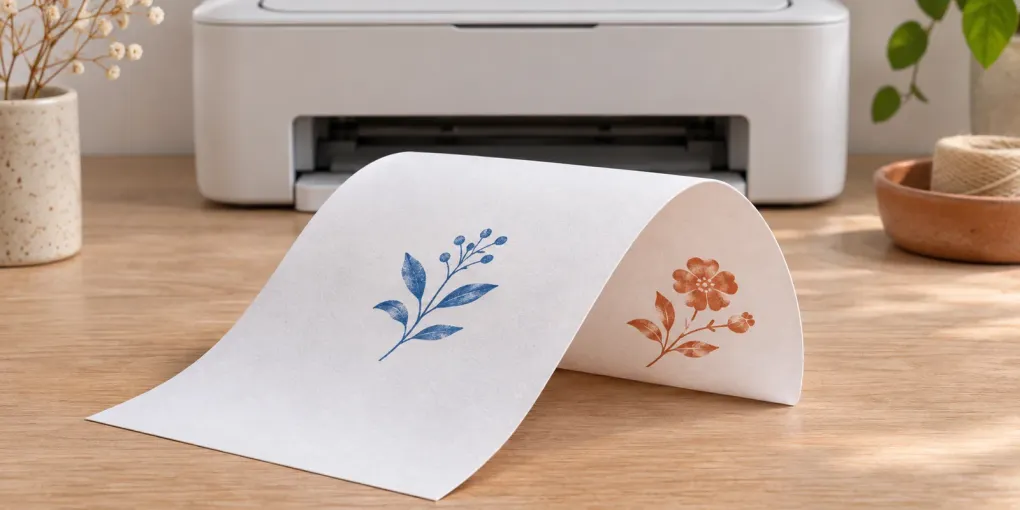
Here’s how to print double sided for a typical portrait document. Open File → Print, select your printer, turn on Print on Both Sides, and choose Flip on long edge so you can turn the page like a book. Print just pages 1–2. Hold page 1 upright, turn the sheet the way you intend to read it, and check that page 2 is upright.
If your printer has no automatic two-sided setting, you can usually feed the sheet through a second time. Try one marked sheet to find which face gets printed, then try two sheets to check the page order. These are separate tests. A single perfect front and back won’t tell you whether page 2 will land behind page 1 in a stack of twenty.
Updated November 4, 2026.
Which flip edge should I choose?
Hold a blank sheet in the same orientation as the finished page. Pinch the edge where a staple, spiral or binder ring would go. Is that physically the longer or the shorter edge of the paper? Choose that edge in the print dialog. The answer changes when you rotate the sheet from portrait to landscape.
| Page as you read it | How you turn it | Flip setting |
|---|---|---|
| Portrait report or reading packet | Turn from right to left | Long edge |
| Portrait checklist clipped at the top | Lift the bottom toward the top | Short edge |
| Landscape slide handout bound at the left | Turn from right to left | Short edge |
| Landscape calendar hanging from the top | Lift the bottom toward the top | Long edge |
For example, the left edge of a portrait US Letter sheet is 11 inches long. Turn it to landscape and the left edge is now 8½ inches. Both documents can open like a book, yet they need opposite settings. An already arranged greeting card or flashcard PDF can also have its own flip instructions. Follow those for the file you are printing.
How to print double sided in Word, on a Mac or from a PDF
- Word for Windows. Choose the printer in File → Print. Open the Print One Sided menu under Settings and select a two-sided option with your binding edge. If the available option says Manually Print on Both Sides, stay by the printer for the reload prompt. Microsoft’s Word printing guide
- On a Mac. Press Command-P and select the printer. In the Double-Sided menu, choose On for the usual long-edge binding or On (Short Edge) for short-edge binding. The settings available depend on the app and selected printer. Apple’s Mac printing guide
- PDF in Acrobat Reader. Open File → Print, pick the printer, and enable Print on both sides of paper. Select the edge, enter pages 1–2, and look through the preview before printing. If the duplex control is missing, check Properties for the printer’s own settings. Reader gets its duplex options from the driver. Adobe’s Reader printing guide
For an ordinary document, keep one page per side. A setting called “2 pages per sheet” shrinks two document pages onto the same face. A flashcard PDF with eight cards already laid out on each page also needs one PDF page per side. For cut lines or folds, match the paper in the tray to the PDF and select Actual size / 100%. Guide to printing at actual size
How to print double sided by hand with a marked sheet
If Word or your printer offers a guided manual duplex mode, follow its reload illustration. To learn the feed direction yourself, use the same tray you’ll use for the full run. A rear slot and a lower cassette can feed differently, even on the same printer.
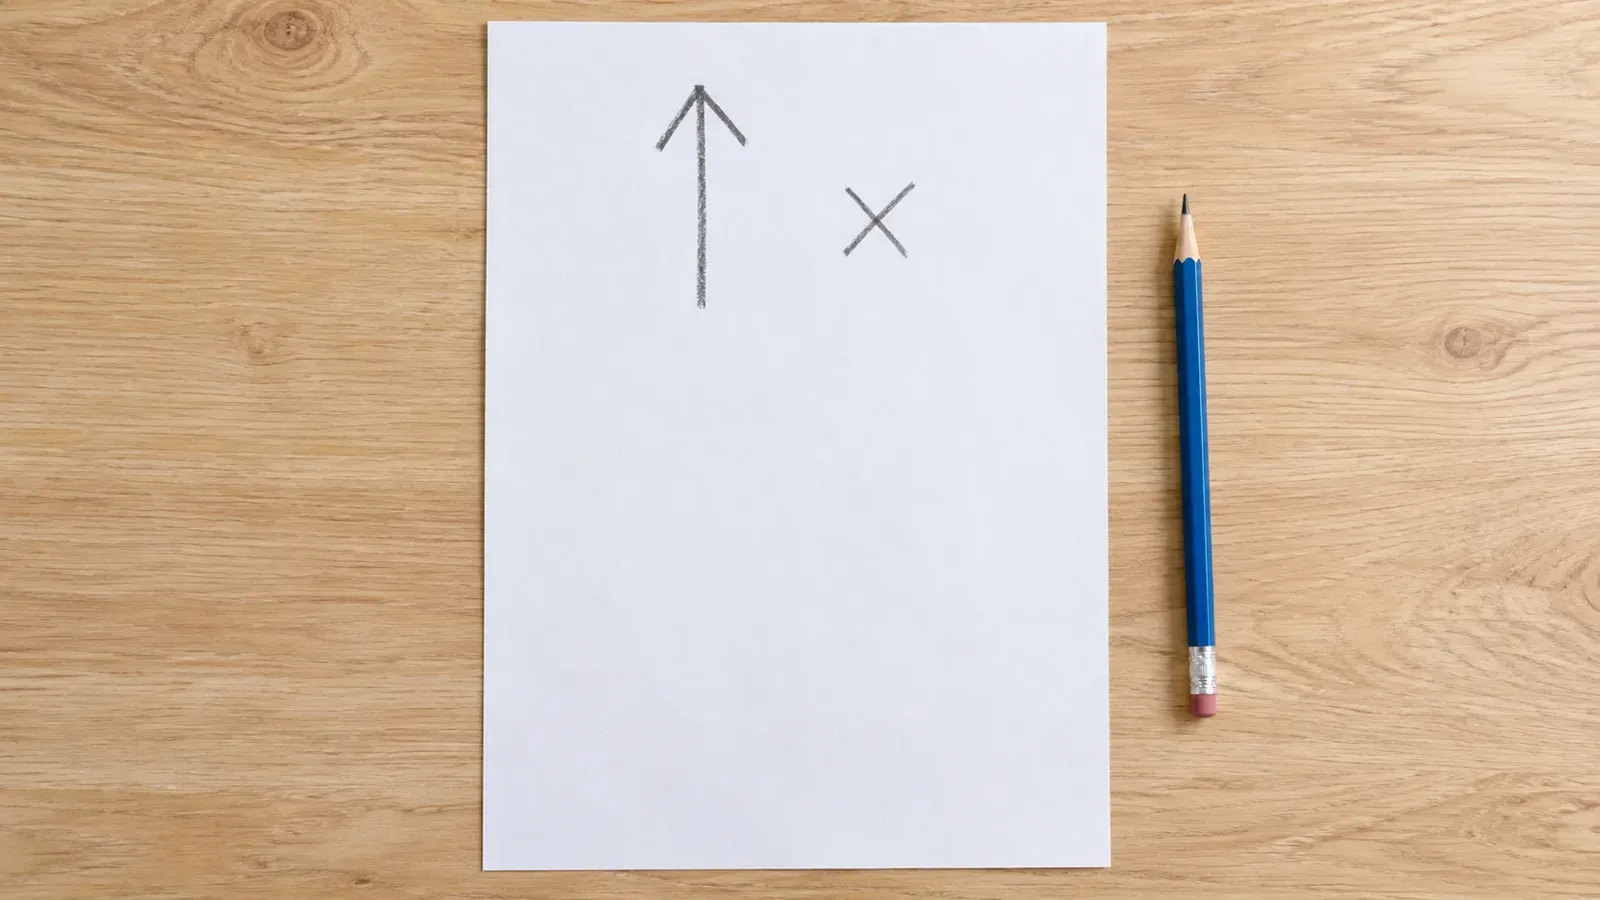
- Mark one sheet. On the face you can see as you load the sheet, pencil a small arrow pointing toward the edge that enters the printer first. Note which face is visible and which edge leads.
- Print page 1 in one-sided mode. Pick a page with an obvious top. If the arrow and the text are on the same face, the printer printed the face you marked. If the arrow is on the other face, it printed the face underneath. Check which edge of the sheet ended up at the top of the text.
- Plan the second pass. Hold page 1 upright and turn it around the intended binding edge. Pencil a small dot at the top of the blank back as you now see it. Reload with the blank face in the position that received ink on pass one. Put the dotted edge in the tray position that produced the top of page 1.
- Print only page 2, still one-sided. Turn the sheet around the binding edge again. Both pages should be readable, one per side. Record the successful reload direction in your own words, including the tray name.
Next, use a four-page file with a large number at the top of each page. Print pages 1 and 3 first. Reload the two sheets in the tested orientation. The first sheet the printer picks up must carry page 1 if you send the backs in the order 2, 4. If the printer takes page 3 first, reverse the sheet order or send the backs in reverse order. Changing both puts you back where you started.
The finished pairs should read 1/2 and 3/4. Use the successful settings for a longer odd-pages pass followed by an even-pages pass. For a five-page document, you can print pages 1–4 this way and print page 5 separately with its back blank. This keeps the unpaired final sheet out of your second pass.
Why is the back upside down, on the wrong card or off-center?
| What you see on a test | What to change before the next sheet |
|---|---|
| Page 2 is behind page 1 but upside down | Switch the binding edge for automatic duplex. For a manual pass, keep the blank face in printing position and rotate the reloaded sheet 180 degrees. |
| Both pages printed on the same face | Change which face receives ink on the second pass. Repeat the one-sheet test before testing stack order. |
| Pages 1 and 4 share a sheet | Change the order in which sheets feed or even pages print. Keep the successful face and edge settings. |
| The answers are upright but under neighboring questions | Check the flip edge used to arrange the back of the deck. The printer and deck settings must agree. |
| Every back is displaced by a similar amount | Check the file size, paper size and scaling first. Then measure one pair of matching cut lines and adjust the back position. |
| The top cut lines match, but the bottom ones drift | Compare printed dimensions on each side and check for a tilted sheet or loose paper guides. A fixed shift moves every line by the same amount. |
For study cards, enter four distinct pairs, such as one/1, two/2, three/3 and four/4, in the flashcard maker. Choose Double-sided, four cards per page, and the same flip edge in the maker and printer. Use Print test page. Hold the sheet to a window and check all four positions. If the cards pair correctly but all the backs sit slightly to one side, adjust the back-page shift and retest. Cut one card and turn it over before printing the class set.
Does my folded card need both sides printed?
For a half-fold design in the printable card maker, the PDF contains two landscape pages. One is the outside, including the cover, and one is the inside. Use the flip edge selected in the editor. Print both pages on opposite faces of one sheet and fold the sample with the cover out. Open it to check the message before loading your final paper.
A quarter-fold card from the same tool puts all four panels on one printed side. Print that page once, one-sided. Some panels look upside down on the flat sheet because the two folds rotate them into place. Make the folds on plain paper first. For heavier stock, check the printer manual for the permitted media in the duplex path before using it.
If you’re showing someone how to print double sided for a deck, give them one cut card and the uncut test sheet. They can check both answer order and edge alignment before committing the rest of the paper. Make a four-card test sheet