Printable Guide
Cupcake Topper Size: Inches, Punches and Printing
Choose a cupcake topper size with an inch-to-mm chart. Compare 2 and 2.5 inch circles, match your punch, print at 100%, and attach paper toppers to picks.
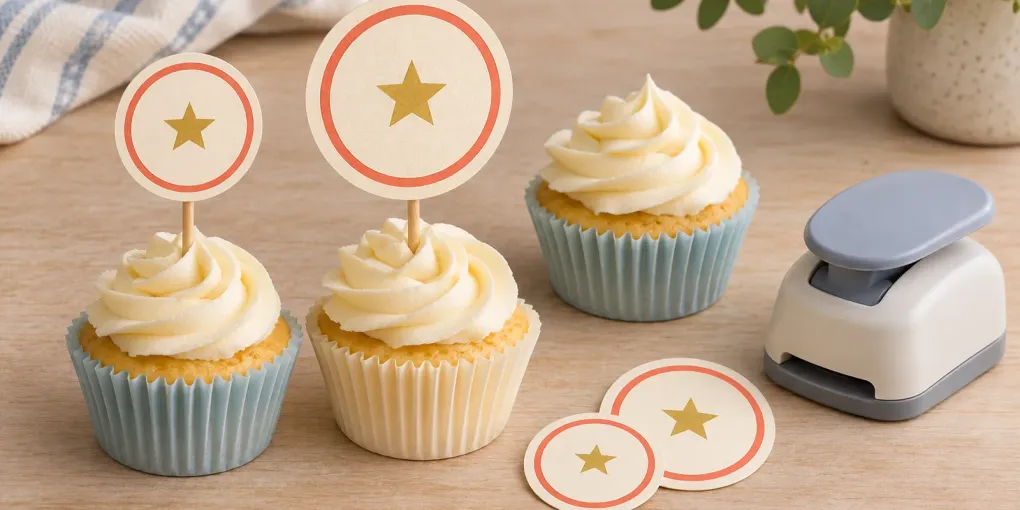
For a first cupcake topper size test, try a 2-inch circle (50.8 mm / 5.08 cm) on one frosted cupcake. Choose 2.5 inches (63.5 mm / 6.35 cm) if you want a larger paper face and the cake can support it comfortably. These measurements describe the finished paper circle, not the total height of the decoration and stick. There is no single diameter that suits every cupcake or frosting style.
Match the circle to your cutting tool before printing a batch. A 50 mm punch is not exactly a 2-inch punch. The PrintMigo cupcake topper maker offers the two exact inch sizes above on A4 or US Letter; export the PDF, print at Actual size / 100%, and measure one circle before cutting.
Updated 2026-11-05. Tool options were checked against the current editor. The photos are illustrative, not templates to print or measure.
Cupcake topper size chart: inches, mm and cm
The inch conversions below use NIST’s definition of one inch as exactly 25.4 mm. The suggested uses are starting points for a paper mock-up, not baking or decorating standards.
| Finished paper diameter | Millimeters | Centimeters | When to try it | In this editor? |
|---|---|---|---|---|
| 1.5 inches | 38.1 mm | 3.81 cm | A small trial circle for mini cupcakes, with very little text | No |
| 2 inches | 50.8 mm | 5.08 cm | First trial for a name, age and simple motif | Yes |
| 2.5 inches | 63.5 mm | 6.35 cm | More prominent decoration or a roomier name | Yes |
A two-inch printable is a common craft format: Chickabug’s topper FAQ recommends a two-inch punch for its designs. That does not make all commercial toppers two inches. A backing layer can also make the finished decoration wider than its printed face; always check which layer a product measurement describes.
Moving from two to two-and-a-half inches increases the diameter by 25%, so the difference is noticeable. Put both test circles next to the actual frosting before choosing. Do not judge size from a zoomed browser preview or from the apparent diameter in a photo.
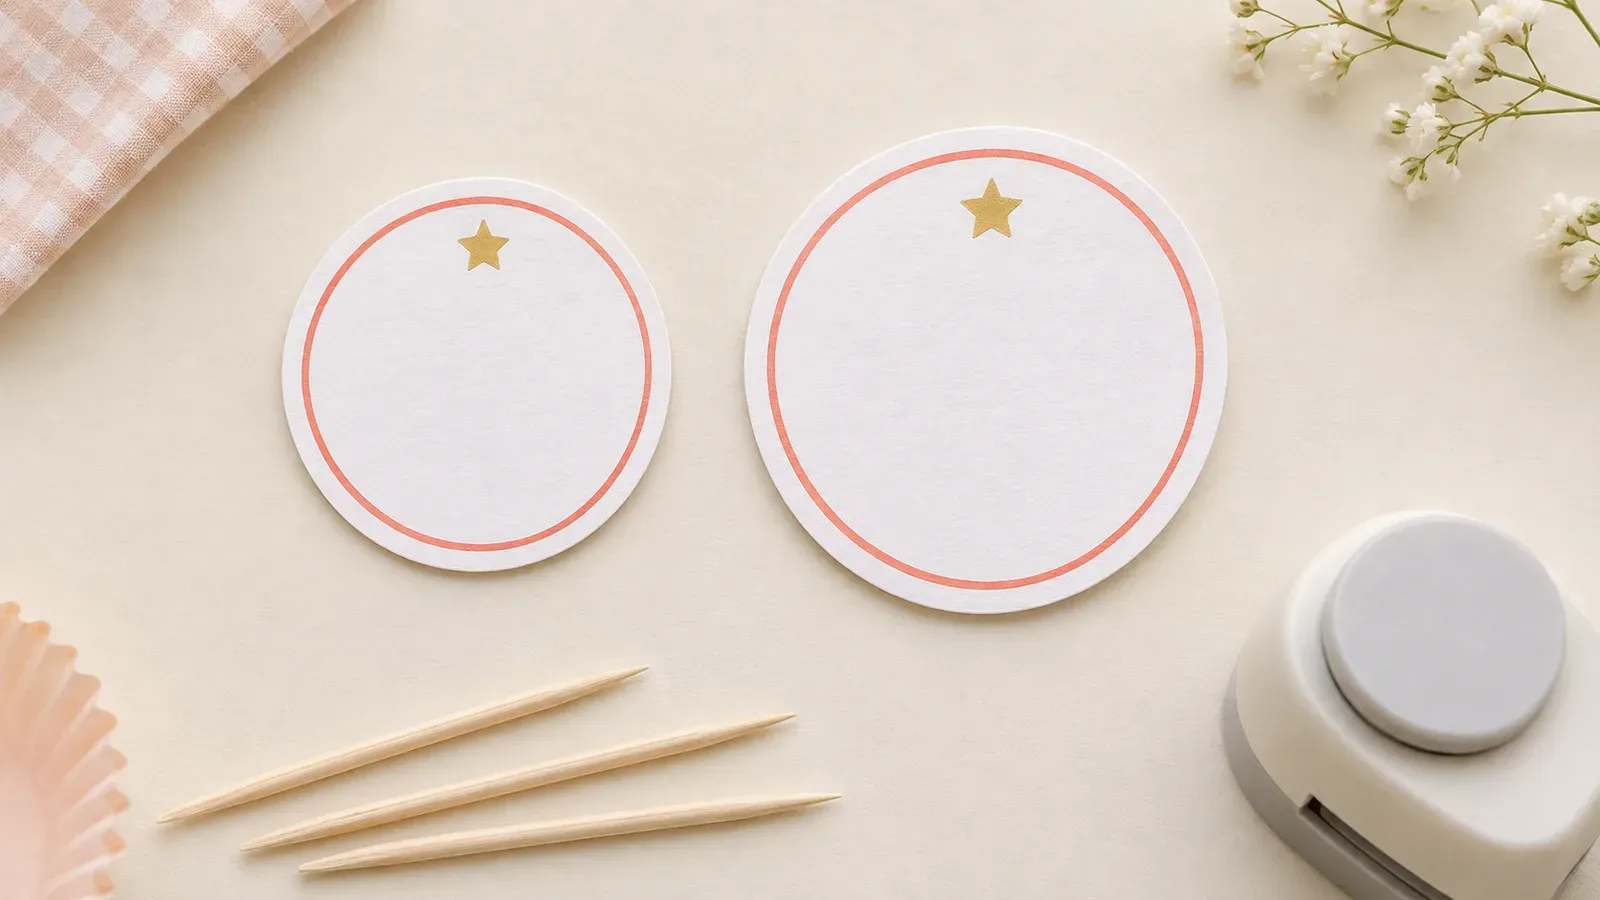
Use the chart for exact dimensions. This generated photograph illustrates the visual choice only.
Choose a cupcake topper size for your actual cupcakes
Start with one cupcake decorated the way you plan to serve it. A tall swirl, a flat iced top and a tiny bite-size cake give the paper very different surroundings. Hold an unprinted circle above the frosting and look at it from the front and from a seated guest’s position.
Use this quick check:
- Look at the silhouette. Can you still see enough cupcake and frosting beneath the paper?
- Read the name. Try the longest name at its printed size. Shorten the greeting if the lettering becomes cramped.
- Check the spacing. Place two decorated cakes where they will sit on the tray. Paper circles should not collide or hide the next row.
- Check the container. If you are transporting them with toppers installed, compare the assembled height with the box lid. Installing the toppers after transport may be easier.
- Test the balance. A large, heavy paper face on a short exposed stick can lean. Try a lighter single layer or the smaller diameter before making every piece.
For a child’s birthday, a short greeting, first name and age usually make a clearer sample than a full sentence. For a shower or thank-you party, clear the age field and keep a short greeting; the greeting is required for export. The editor supplies star, balloon and flower themes with greeting, name and age fields; it does not provide arbitrary photo uploads or licensed character artwork.
Match your cupcake topper size to the circle punch
Read the cut diameter on the punch packaging. The outer size of the punch body says nothing about the circle it cuts. Also check the supported paper thickness and how far the punch can reach into a sheet.
| Your cutter | Circle to prepare | What to watch |
|---|---|---|
| 2-inch round punch | 2-inch design at 100% | Measure 50.8 mm across the printed circle |
| 2.5-inch round punch | 2.5-inch design at 100% | Measure 63.5 mm; check the punch’s card limit |
| 50 mm round punch | A true 50 mm template, or a consciously trimmed test | It is 0.8 mm smaller than the editor’s 2-inch circle |
| Scalloped punch | A tested design and cutter combination | The overall diameter and inner usable area can differ |
| Scissors | Either editor size | Rotate the paper as you cut around the outline |
A centered 50 mm cut removes 0.4 mm from each edge of a 50.8 mm circle. That may be acceptable for a plain margin, but it can remove part of a border. Do not describe the two sizes as interchangeable. For an exact 50 mm project, use a template designed for that cutter; PrintMigo’s current size selector is fixed at 50.8 and 63.5 mm.
Trim the sheet into strips so the punch opening can reach every circle. Leave enough paper to hold the strip and align the artwork. This strip-cutting method is also described in the original CupcakePrintables assembly instructions. Test one circle before punching the rest, and do not force several layers or unsupported cardstock through the mechanism.
Print the cupcake topper size at 100%
The PDF already contains a page layout. Keep the print dialog at one document page per physical sheet, even when there are many circles on that page. Selecting multiple pages per sheet will shrink the entire layout.
- Open the topper maker and choose the finished diameter.
- Choose A4 or US Letter to match the paper you will load. A4 is 210 × 297 mm; Letter is 8.5 × 11 inches.
- Enter the greeting, name and age, then check the preview for spelling and crowded text.
- Set the number of printed circles. Keep cut marks enabled and bleed off for the first proof. Review the generated sheet count rather than assuming a fixed number per page.
- Download the PDF and select its matching paper size in the print dialog.
- Choose Actual size or 100%, without Fit or Shrink, and print one proof on plain paper.
- Measure across the center of the circle from one cut line to the other. Check the finished cut boundary, not the decorative ring inset from it or any artwork extending into bleed.
Adobe’s page-size guidance distinguishes Actual size, which does not scale, from Fit, which resizes a page to the printable area. Actual size can still crop content outside that area. If an edge disappears, check paper size, orientation and printable margins; adjust the sheet margin and export again if needed.
For example, a 50.8 mm circle printed at 95% becomes 48.26 mm. A cutter cannot restore the missing size. Correct the scaling and reprint the proof before touching the final card. The actual-size printing guide covers this check in more detail.
PNG is useful for saving a page image, but photo printing software may enlarge, shrink or crop it. PDF is the simpler starting point when the physical diameter must match a punch.
Paper, picks and a neat back
Use ordinary paper for the first size test. For the finished decorations, choose matte white cardstock supported by both your printer and your punch. Thickness, coating and feed path matter as well as the weight on the package. A craft tutorial’s paper recommendation is not a specification for your printer; check its manual and make one trial. See the cardstock printing guide if the sheet curls or feeds poorly.
Let the print dry before assembly. Place a cut circle face down and fasten the upper end of a food-use wooden pick to its back with tape or a small amount of craft adhesive. Keep the paper and adhesive above the frosting; only the appropriate food pick should enter the cake. Let glue set fully and check that the circle stays attached before placing it on the cupcake.
A toothpick may work for a small decoration, but do not assume any particular length suits every frosting height. Check the assembled sample for a secure insertion and a clear gap under the paper. Keep pointed picks under adult control and remove the whole paper-and-stick decoration before eating. These are non-edible paper crafts.
For a finished back, attach a second circle by hand with the pick sandwiched between the two. Align the top of each design before the adhesive sets. This is a manual assembly choice, not a promise of automatically registered two-sided printing. It also doubles the number of paper circles needed and adds weight.
Plan the quantity and solve common problems
Count finished toppers separately from printed faces. For 24 cupcakes, single-sided decorations require 24 circles and 24 picks. Two printed faces per decoration require 48 circles and 24 picks, before any extras for test cuts. Add the number of spares you want; there is no need to waste a full batch learning your punch alignment.
The editor accepts a copy count from 1 to 200. The selected diameter, paper and sheet settings determine the arrangement. Changing from A4 to Letter changes the layout, not the intended circle diameter.
| Problem | Likely check | Practical fix |
|---|---|---|
| Every circle is too small | Fit, Shrink or pages-per-sheet setting | Print the PDF at 100%, one page per sheet |
| Border is cut off all around | Cutter is smaller than the design | Match the cutter diameter or use scissors |
| Border is uneven on one side | Off-center punch alignment | Test with a strip and align before pressing |
| Punch cannot reach a middle circle | Too much sheet between edge and center | Separate the rows or columns into manageable strips |
| One outer edge is missing before cutting | Page size, orientation or printer margin | Correct the sheet setup and export a new proof |
| Name looks tiny | Too much text for the available face | Shorten wording and test the larger circle |
| Finished topper leans | Heavy layers or poor stick attachment | Try one layer, a smaller face or a firmer attachment |
Frequently asked questions
What cupcake topper size should I use for a normal cupcake?
Start with a two-inch paper circle and test it on your frosted cupcake. Use two-and-a-half inches if the larger face looks balanced and fits the tray. Cupcake and frosting dimensions vary, so a paper trial is more reliable than a universal size claim.
Is a 5 cm circle the same as a two-inch circle?
No. Five centimeters is 50 mm; two inches is 50.8 mm. The difference matters when a narrow printed border must line up with a craft punch.
Can I use a two-inch punch on a two-and-a-half-inch design?
It will cut a smaller circle out of the artwork and may remove the border or text. Select the smaller design before exporting, or use a matching larger cutter or scissors.
What cupcake topper size works for mini cupcakes?
A 1.5-inch / 38.1 mm paper circle is one possible test, with minimal text. That is a suggested mock-up size, not a universal mini-cupcake standard. This editor does not currently offer it.
Does choosing A4 make the toppers larger?
No. The two supported diameters stay the same on A4 and Letter when printed at 100%. The sheet arrangement can change. Match the editor, print dialog and physical paper.
Can I make these ahead of time?
Yes. Assemble the paper pieces in advance, let adhesive set, and store them dry and flat. Keep them separate from chilled or damp cakes until you are ready to arrange the display so the paper stays clean and firm.
Ready to choose your cupcake topper size? Create a name-and-age sheet, print one measured sample, then use those checked settings for the rest of the party.